British RAF
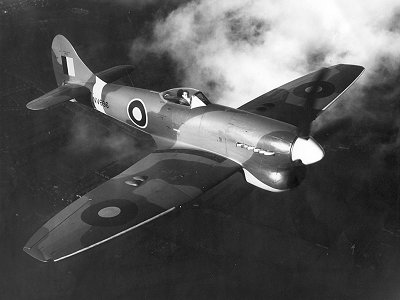
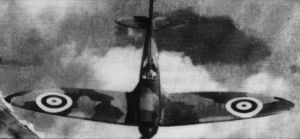
Spitfire Supermarine
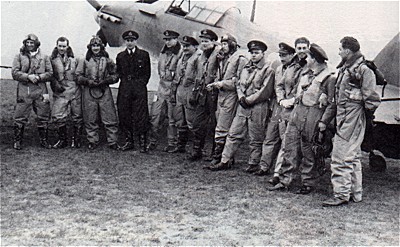
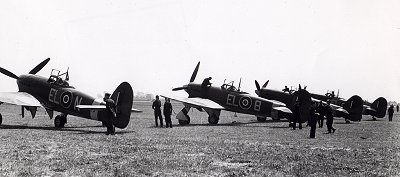
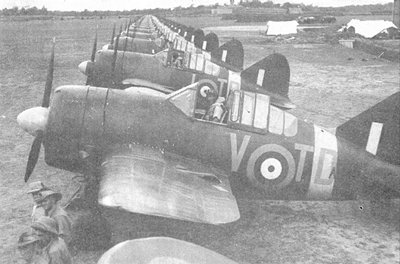
Spitfires, such as these from 611 Squadron, began to take part in the air fighting from bases in Britain
Offensive operations included "Rhubarbs" of fighter bombers such as this Spitfire Mk V
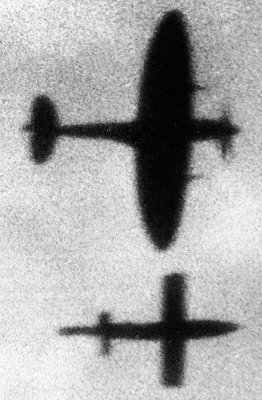
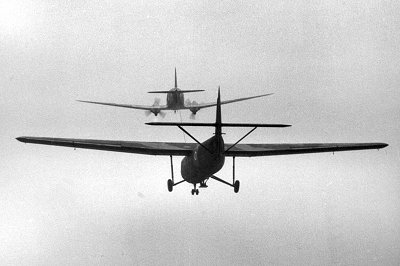
Aside from shooting them down, V1 autopilots could be tumbled out of control by altering the airflow over one wing. Here a Spitfire approaches a V1
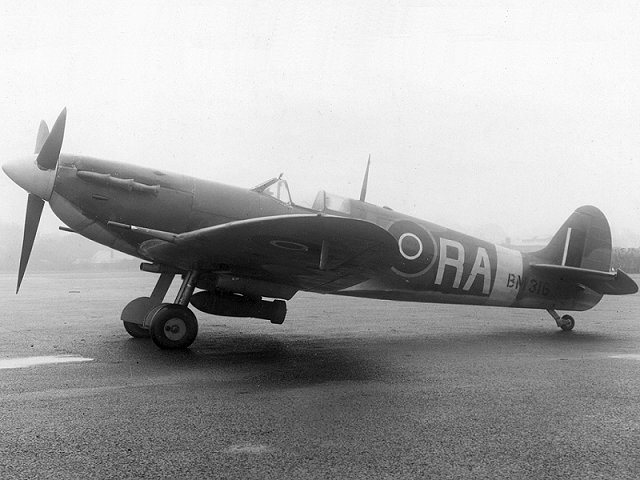
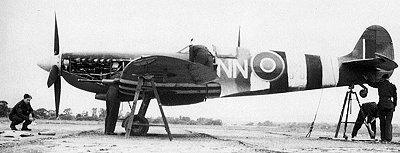
Often made of Pierced Steel Planking (PSP), forward airstrips were rudimentary in June of 1944. Here a Biggin Hill wing Spitfire Mk IX has its guns aligned in the open
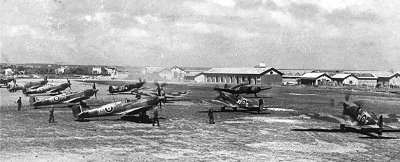
Fighter bombers, such as these Anzio-based Spitfires, played a major role in Operation Strangle
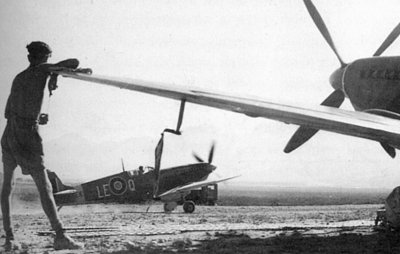
A 242 Squadron Spitfire Mk IX returns to Corsica after a mission over the South of France invasion
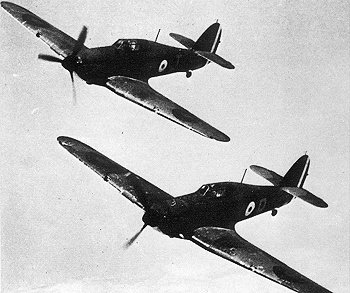
Hawker Hurricane fighter
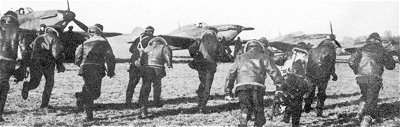
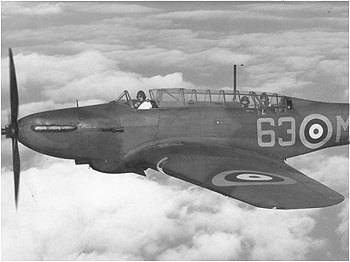
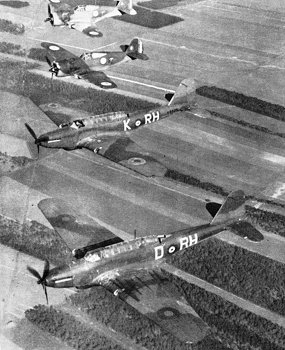
Hurricane pilots in France run to their aircraft
The Hurricane outnumbered the Spitfire in RAF service by nearly 2 to 1 at this time
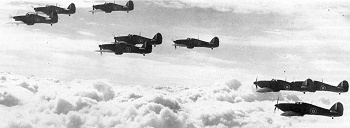
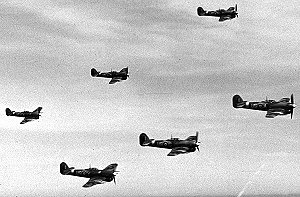
73 Squadron Hurricanes over France
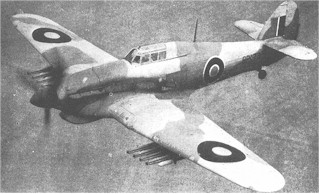
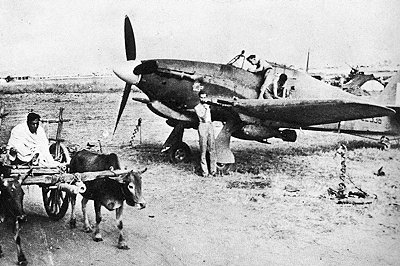
Hurricanes in the desert were fitted with the Vokes sand filter under the nose
Pilots of one of the Eagle Squadrons with a Hawker Hurricane
Tactical support aircraft in Burma included Hurricane fighter bombers
Hawker Typhoons of the Duxford Wing took part in the support operations for the Dieppe raid
Fighter-bombers like these Hawker Typhoons kept the German reinforcements away from the struggling beacheads
60 lb warhead rockets were used to great effect by Typhoons against armoured vehicles and transport facilities
Typhoons, such as these of 181 Squadron, took part in the last operations over the Baltic
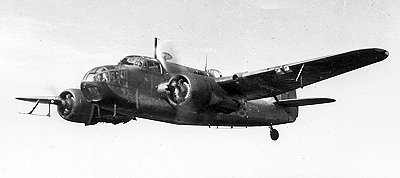
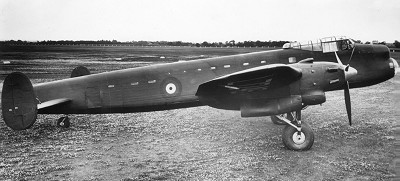
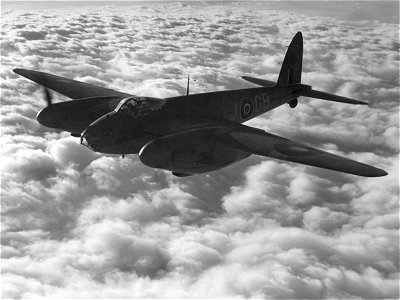
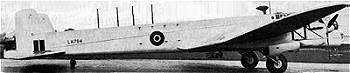
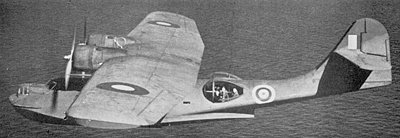
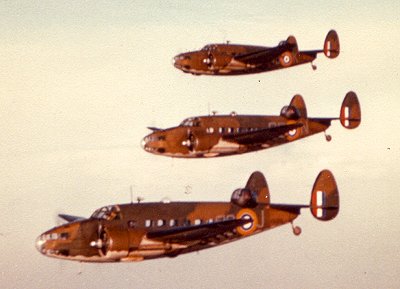
The Bristol Beaufort
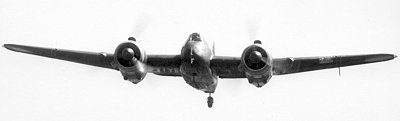
Bristol Beaufort with ASV aerials clearly visible under the wings
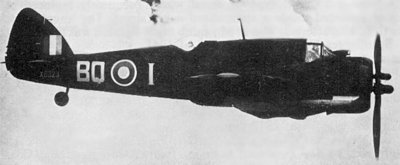
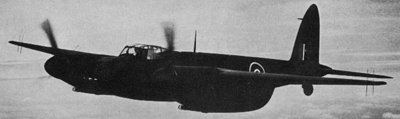
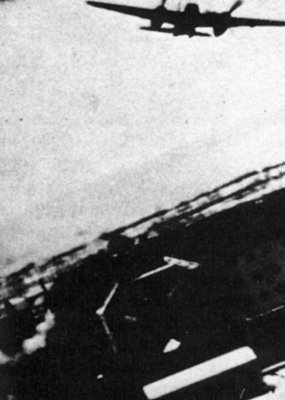
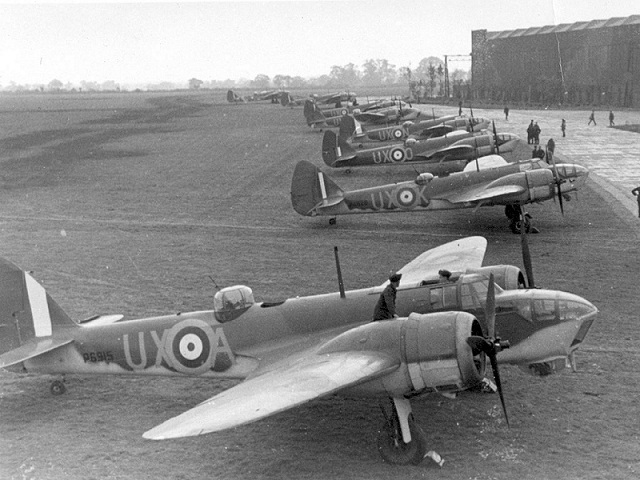
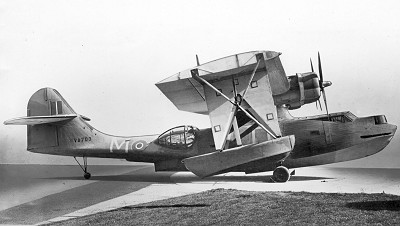
The Bristol Beaufighter proved an extremely efficient anti-shipping aircraft
The Bristol Beaufighter was incredibly fast at low level
RAF night-fighters could now track German night fighter radars. This is a Beufighter VIF of 600 Squadron
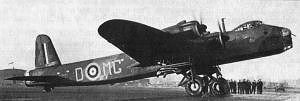
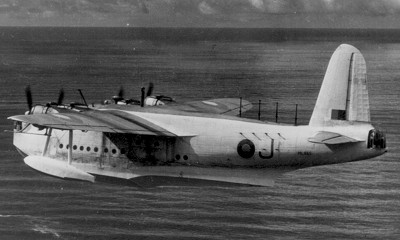
A Handley Page Halifax of 35 Squadron, being flown by Christopher Cheshire
Handley Page Halifax Mk 1bs of 35 Squadron
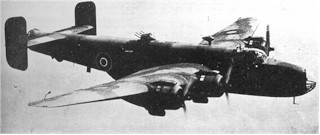
Halifax bomber
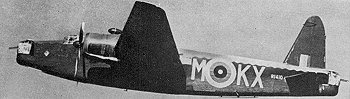
The Halifax Mk III was one of the types fitted with H2S, the bulge under the fuselage below the mid-upper turret. It mapped the ground, but German night fighters could track it
The Avro Lancaster Mk 1
A Lancaster bomber with a 8,000lb bomb. The 250 and 500lb weapons common in 1939 were ineffective, so bombs grew to 8,000lb and above by 1942
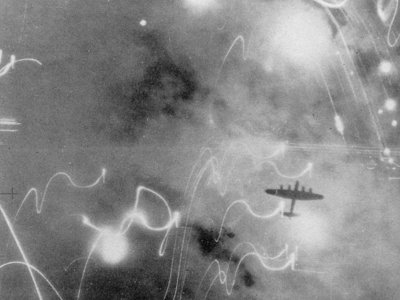
A Lancaster caught over its target. Target Indicators are visible in the top right corner, while fires light the cloud from below and flak leaves wavy lines
The Mohne dam photographed after a Lancaster bombing raid, with the Upkeep weapon under a Lancaster inset top left, and Wg Cdr Guy Gibson (on ladder) and crew about to set off on the raid, inset bottom right
Demands for large numbers of bomber aircraft for the campaign over Europe meant alternative power sources were tried on several types. This is the Bristol Hercules powered Lancaster II
A front view of an Avro Lancaster over a blanket of cloud
The first version of the Mosquito to enter service was the Mk IV, and unarmed bomber
A de Havilland Mosquito Mk IV of 105 Squadron
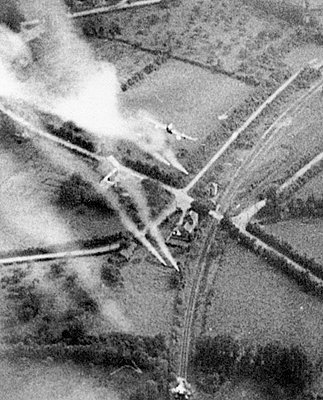
One of the Mosquito bombers caught on gun camera over Amiens jail
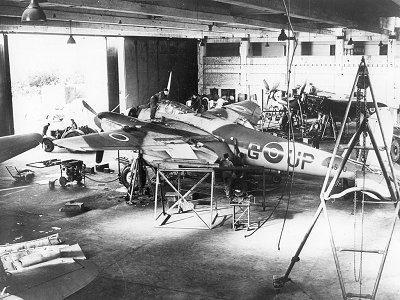
Mosquitoes operated in every role in Europe. These are aircraft of 4 Squadron undergoing maintenance
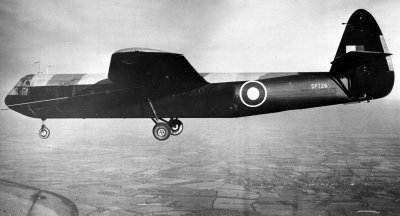
Bristol Blenheim and Bristol Bisley
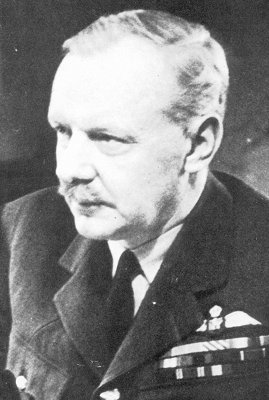
Air Chief Marshal Sir Charles Portal
Air Commodore D C T Bennett
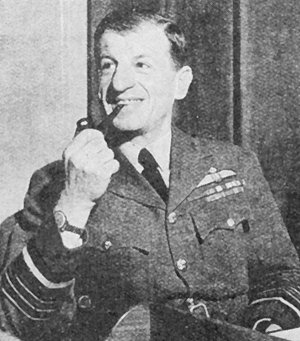
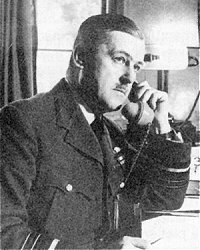
Air Marshal Arthur "Bomber" Harris, the charismatic leader of Bomber Command
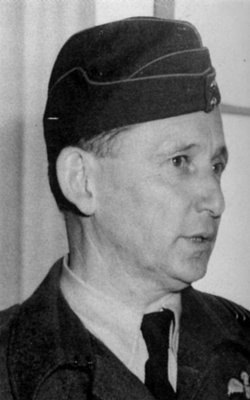
Air Chief Marshal Sir Trafford Leigh-Mallory, photographed when an Air Vice Marshal
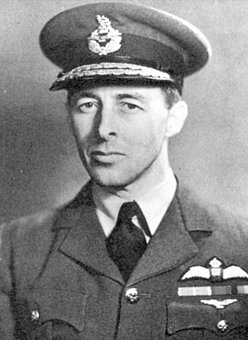
Air Chief Marshal Sir Arthur Tedder
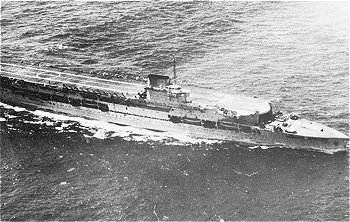
HMS Glorious
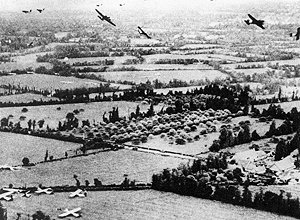
Gliders cover the ground as C-47s turn away during the D-Day landings, a fine example of Allied air superiority
Friend or Foe?
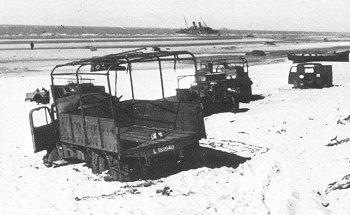
Vehicles left on the beach at Dunkerque
Pilot training entered a new accelerated phase as the Empire Air Training Scheme became fully operational
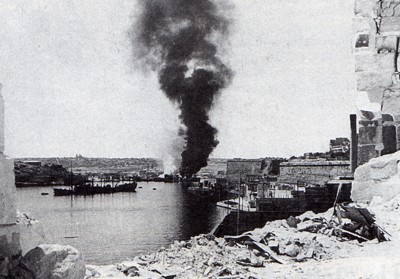
Convoy shipping burns after a raid on Grand Valetta harbour, Malta
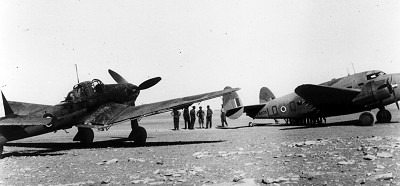
In the primitive, rapidly moving conditions in North Africa, good communications were the key to avoid ending up on the wrong side
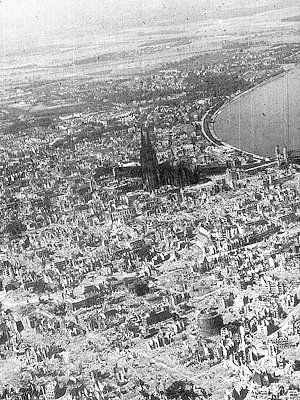
The 1,000 bomber raids were devastating. Cologne cathedral stands alone in a shattered wasteland after the first such raid
Hamburg was attacked by Bomber Command at night and the US 8th Air Force by day. Taken during a daylight raid, this photograph shows 500lb GP bombs falling on the harbour area
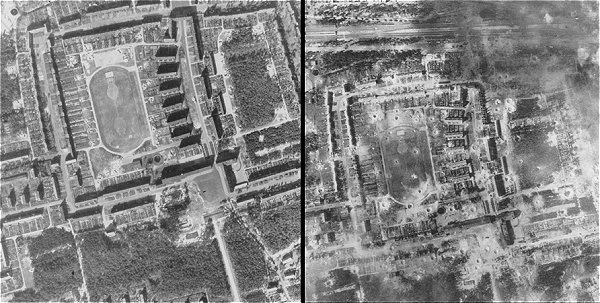
Peenemunde, before and after the raid
174,406 women made up the Women's Auxiliary Air Force performing many duties
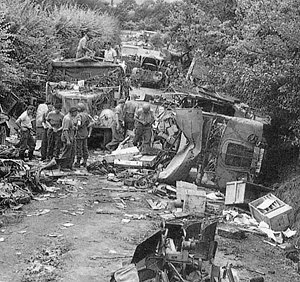
Wrecked vehicles litter a Falaise road after Allied air strikes
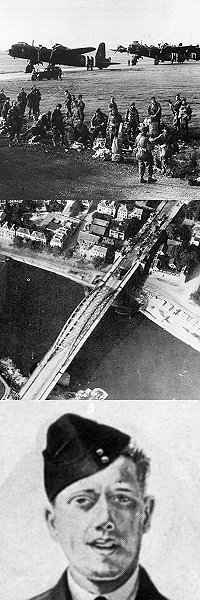
Top:1st Airborne troops board Short Stirlings. Middle:The Arnhem bridge photographed during the battle. Wrecked German vehicles can be seen at the top end of the bridge. Bottom:Flight Lieutenant D S Lord VC
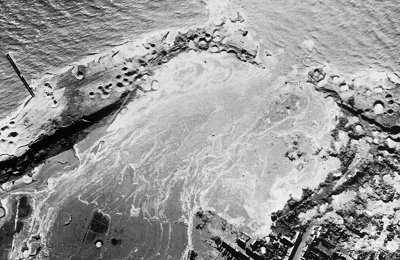
One of the shattered dykes on Walcheren island
The ten ton Grand Slam being taken from the bomb-dump, and the Bielefeld Viaduct after a direct hit by 617 Squadron
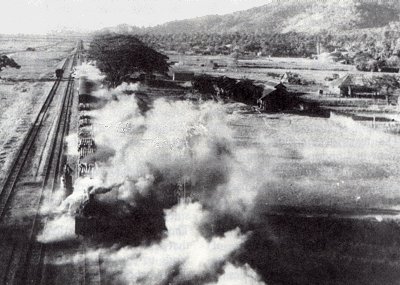
Continuous 3TAF strikes against targets such as this train meant the Japanese forces in Burma were unable to move or to be resupplied
|
|
|
Picture credits:
Note:
This page contains links to many pictures from many different
sites from all over the internet. I have tried to attain permission to
use the photos where ever possible but I may have missed some. If
there is a picture here that belongs to you and should not be placed here,
or if you would just like credit for the picture, please let me know
(click here to e-mail me)
and I will resolve any problems. Thanks.
Posted by Luke


